

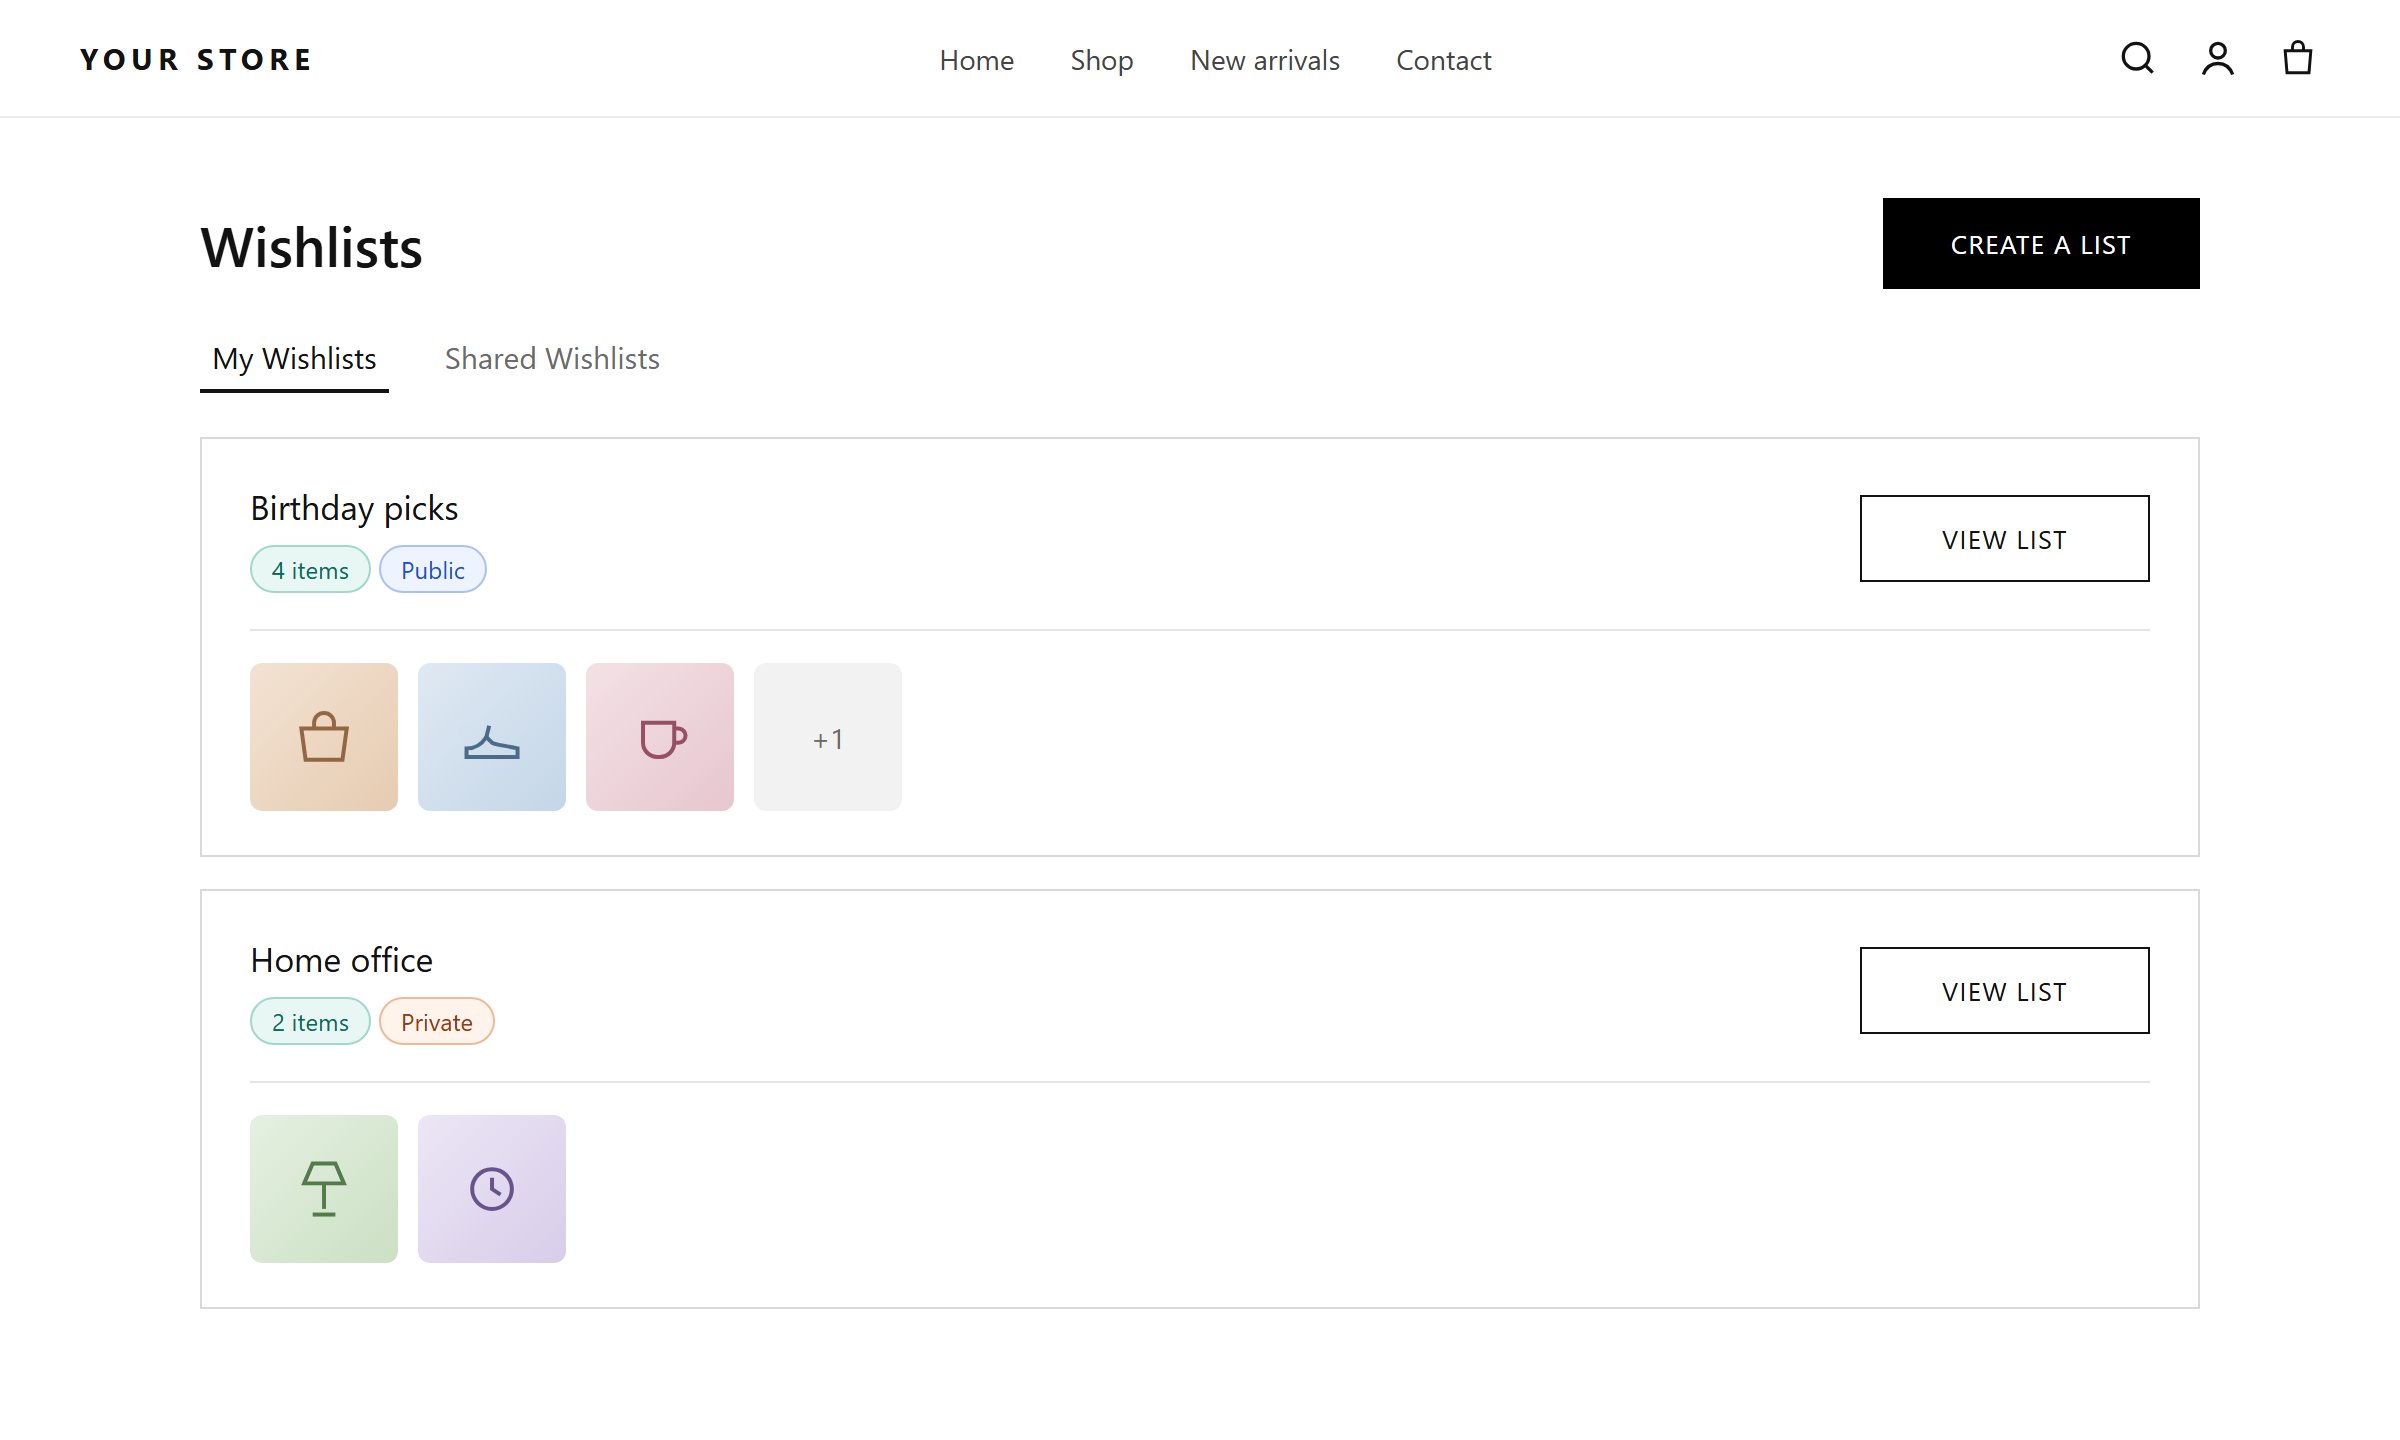
The wishlist page: My Wishlists and Shared Wishlists tabs
The Wishlist page toggle under Insights → Wishlist Settings must be Activated, and the Wishlist Engine app embed must be on.
Option 1: App block (Online Store 2.0 themes)
1
Create the page
In Shopify admin, go to Online Store → Pages → Add page. Name it
Wishlist and save. Its URL is /pages/wishlist.2
Customize your theme
Go to Online Store → Themes and click Customize.
3
Select the page template
From the page selector at the top, choose Pages, then the template your wishlist page uses. To keep the wishlist on its own template, click Create template, give it a name, then assign it to the Wishlist page in Online Store → Pages.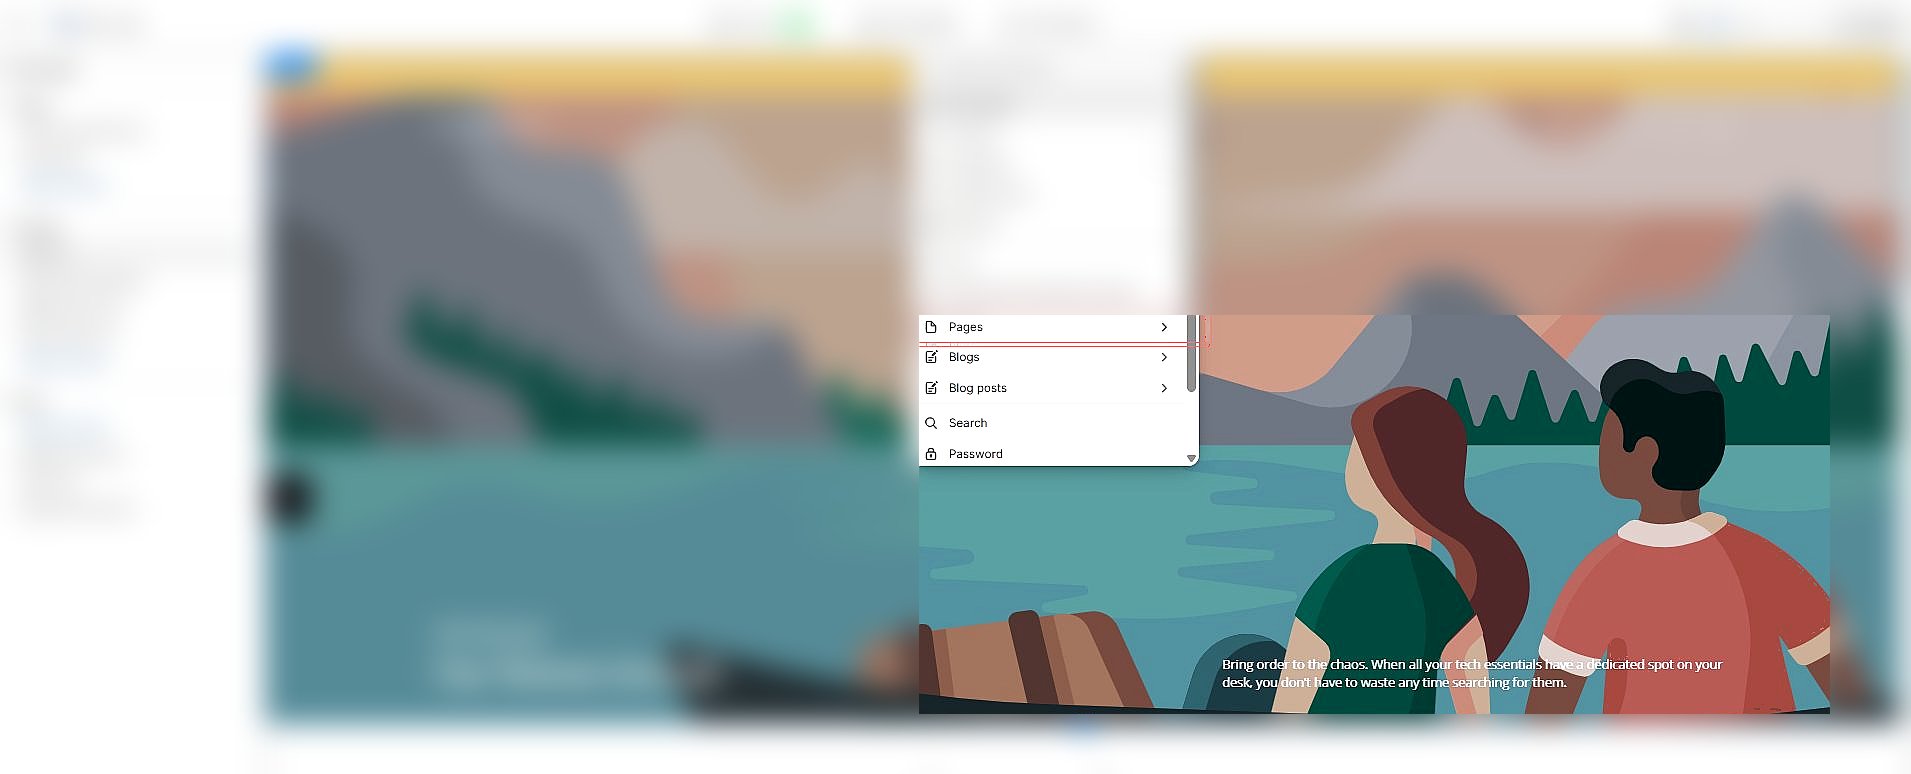

4
Add the app block
In a section, click Add block, open the Apps tab, and select Shopy Wishlist Page.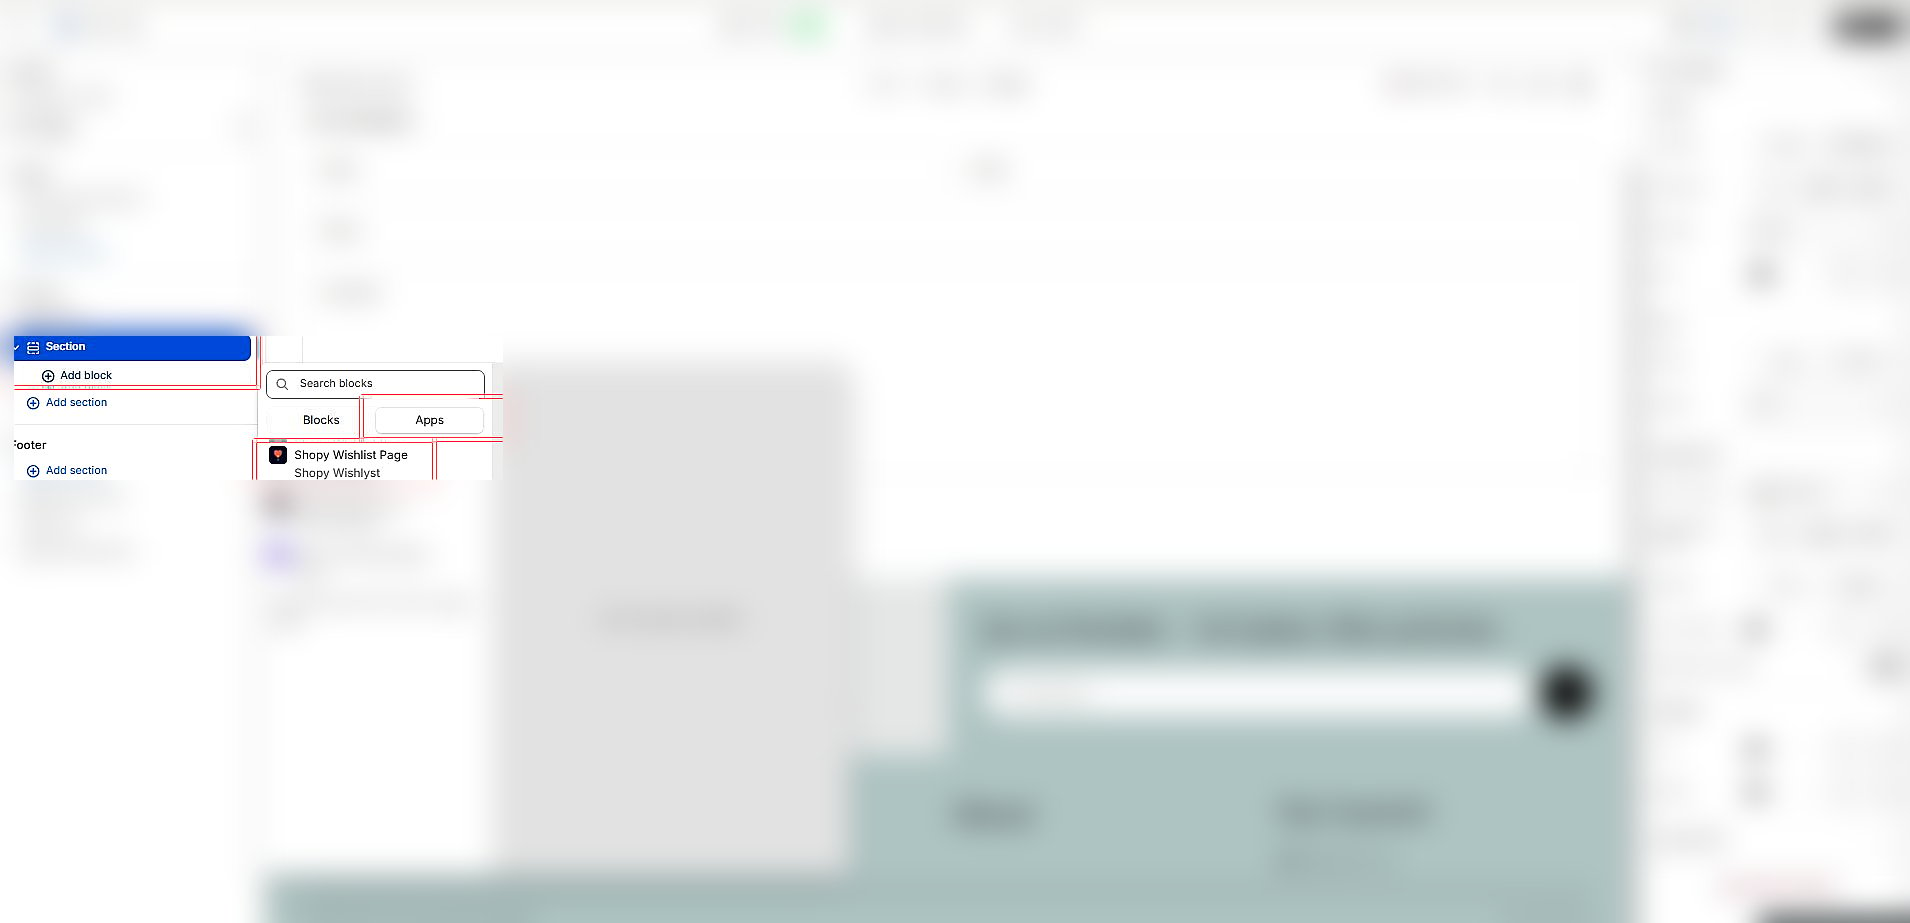
5
Save
The wishlist now appears on the page. Drag the block to reorder it among your sections.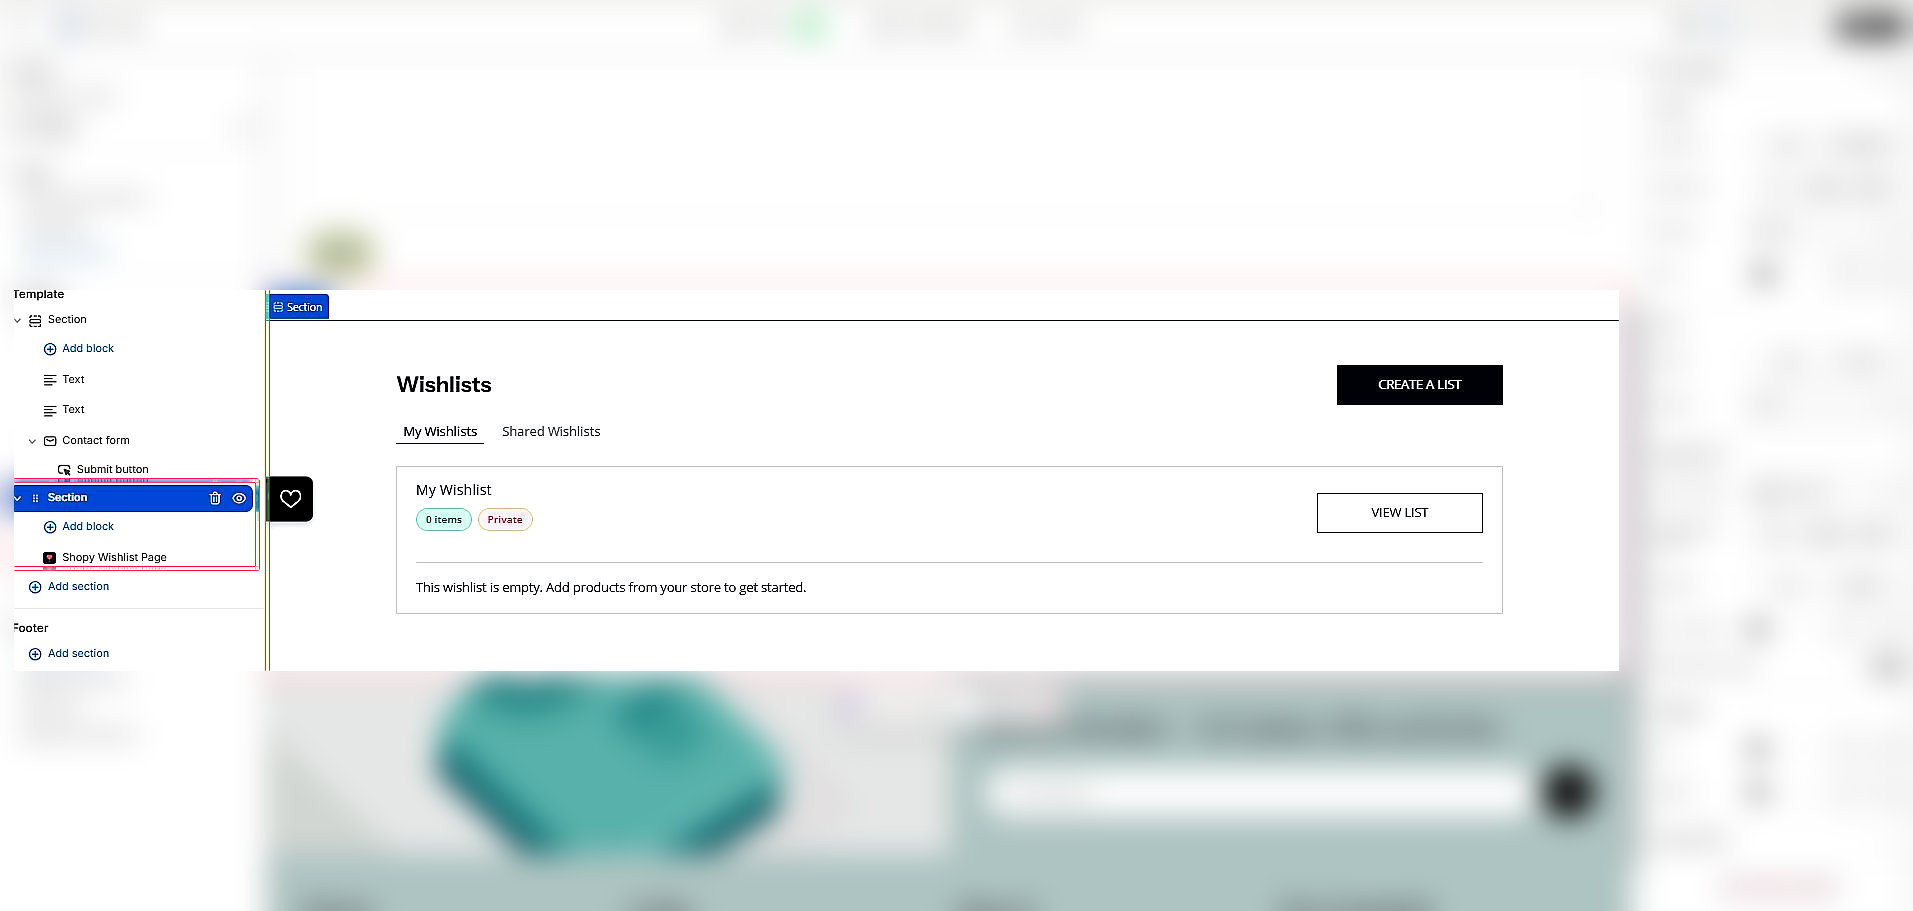
Option 2: Shortcode (older themes)
If your theme does not support app blocks (for example Debut, Brooklyn, or older versions of Ella):- Go to Online Store → Pages and open your wishlist page.
- Switch the content editor to HTML (the
<>button). - Paste this and save:
Link to the page
Add the page to your navigation so shoppers can find it: Online Store → Navigation → Main menu → Add menu item, labelWishlist, link /pages/wishlist.
Other entry points:
- Floating button and drawer: on by default. See Wishlist page & drawer settings.
- Menu with the shopper’s lists: the nav shortcode lists their wishlists in a dropdown.